Paving Stages
This is a specialised work that involves several phases, all of which must be properly carried out:
First Stage
The preparation of the surface involves creating a “box” in the pre-existing cobblestone pavement on the walkway, which should have a depth of at least 3 cm beyond the height of the stone to be used. As a general rule, this “box” should have a depth between 8 and 10 cm. Once the ground has been properly prepared, which includes thorough compaction of the surface where the pavement will be applied, a gravel sub-base (tout-venant), also properly compacted, should be laid. The compaction of the ground can be carried out manually or mechanically.
Second Stage
Once the “box” has been prepared, a layer of fine gravel — an inert material consisting of limestone dust and small fragments measuring between 1 and 3 mm — or sand, 4 to 5 cm thick depending on the size of the pavement to be laid, should be evenly distributed.
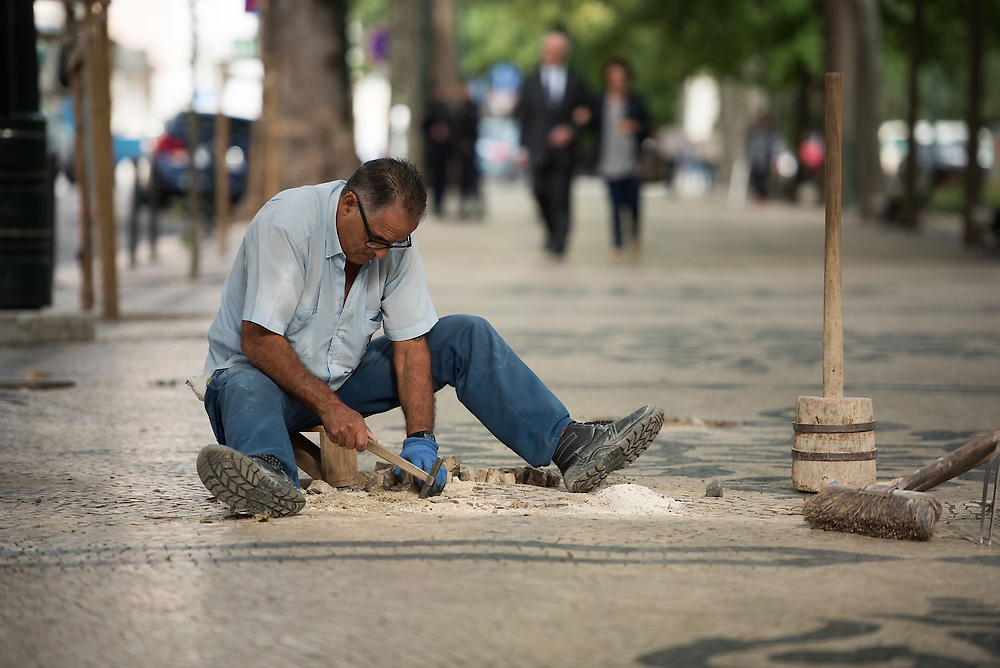
Third Phase
The laying of the pavers begins on a bed of crushed stone (areão) or sand, with each stone interlocked with its neighbours. The stones typically measure around 3 to 5 cm per side, as smaller stones provide better adhesion and grip. To create a specific pattern, a mould is used—traditionally made of wood, though metal or plastic may also be employed—and it is secured in place with pegs driven into the crushed stone. The base-coloured pavers—most commonly white in Lisbon, although this is not mandatory—are then arranged in all areas surrounding the mould and in any empty spaces it leaves behind. Once this stage is complete, the mould is carefully removed, and the resulting void is filled with pavers of a contrasting colour. Each stone, manually adjusted by the cobblestone paver, must be carefully shaped and sized to ensure a perfect fit and the desired decorative effect. The joints between the stones should leave a gap of around two to five millimetres. This small spacing helps to reduce movement in the pavement, allows for better compaction, prevents future deformations, and minimises the risk of stones loosening or detaching. It also enhances adhesion, contributing to the long-term preservation of the Portuguese cobblestone pavement.
Fourth Phase
Once the paving is complete, the joints should be filled with crushed stone or sand. This material is spread over the Portuguese cobblestone pavement and then swept with a broom to ensure the joints are evenly filled. The pavement is then watered for the first time using a watering can, allowing the filling material to penetrate the joints more effectively. Afterwards, the surface is compacted with a mallet, ensuring that the paving is firmly set, level, and uniformly adjusted to the desired height—usually until the pavement reaches the “nega”, that is, the level at which the stones are flush with the kerb of the pavement. Compaction continues until further tapping produces no more settlement.
Fifth Phase
Finally, a little fine sand is spread over the Portuguese pavement using brooms, and it is then watered generously.